Three Types Of Seed Every Gardener Should Know How To Save
How to Save Vegetable Seeds from Pods, Dry Seed Heads and Fruit
🌱 The Golden Rule of Seed Saving
The golden rule of seed saving is simple. Save seeds from your best plants, not just any plant that happens to go to seed.
It can be tempting to collect seed from whatever is left standing at the end of the season, but that is not always the best choice. You want to save vegetable seeds from plants that have shown you their worth. Look for strong growth, healthy leaves, good flavour, steady production, and plants that handled your local climate without too much fuss.
If one tomato plant kept producing through a hot spell, or one bean plant gave you loads of pods while the others sulked, that is the sort of plant worth saving seed from. Over time, this is how gardeners build stronger, more reliable crops in their own backyard. You are gently selecting plants that suit your soil, your weather, and the way you garden.
Heirloom seeds and open-pollinated seeds are the most reliable for home seed saving. These varieties grow true to type, which means the next generation should look, grow, and taste much like the parent plant. That makes them perfect for gardeners who want to collect seed, reduce waste, and grow a more self-sufficient vegetable garden.
Hybrid seeds, often labelled F1, are a little different. They can be wonderful to grow, but the seeds they produce are unpredictable. The next generation may not look or taste like the plant you started with. That does not mean you cannot try. Gardening is full of little experiments. Just know that if you want reliable seed saving results, heirloom and open-pollinated varieties are the safest place to start.
🥕 The Three Main Types of Seeds to Collect
Most vegetable gardens give you three main types of seed to collect, and each one needs a slightly different approach.
The first type is seeds in pods, like peas, beans, broad beans, and some other legumes. These are usually the easiest seeds to save because they dry naturally on the plant.
The second type is small, dry seeds from plants like lettuce, parsley, kale, silverbeet, coriander, cauliflower, broccoli, and other leafy or flowering vegetables. These seeds often form on tall seed heads once the plant has bolted or finished its main harvest.
The third type is seeds from fleshy fruit, such as tomatoes, cucumbers, pumpkins, zucchinis, capsicums, chillies, rockmelons, and watermelons. These seeds are tucked inside the fruit and need to be cleaned and dried properly before storage.
Once you understand which type of seed you are dealing with, the whole process becomes much easier. Seed saving is not complicated, but it does reward patience and good timing.
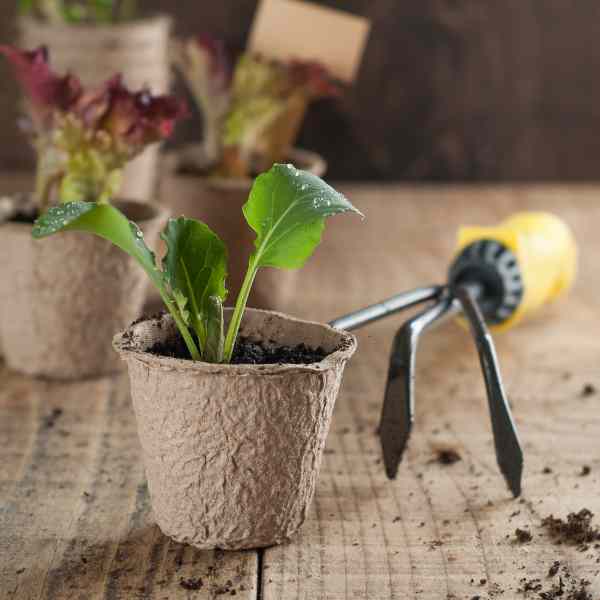
🫛 Collecting Seeds from Pods
Seeds in pods are a lovely place to start if you are new to seed saving. Peas, beans, and broad beans are generous plants, and their large seeds are easy to see, handle, dry, and store.
Let the pods stay on the plant until they are fully mature. You want them to turn brown, dry, and papery. When you shake the pod, the seeds inside should rattle. That little rattle is a good sign that the seeds have finished developing and are drying down nicely.
Snip the pods from the plant on a dry day if you can. Damp weather can lead to mould, so avoid harvesting seed pods straight after rain. Crack the pods open and check the seeds inside. Keep the plump, firm, undamaged seeds and discard any that look shrivelled, soft, cracked, or marked by pests.
Pop the seeds into a labelled paper bag or envelope and leave them somewhere cool, dry, and airy for another week or two. Even if they feel dry, a little extra drying time helps prevent mould in storage.
A good tip is to avoid saving seed from the very first or very last pods of the season. Middle-of-the-season pods often come from plants growing at their strongest, which can give you better quality seed for next year’s crop.
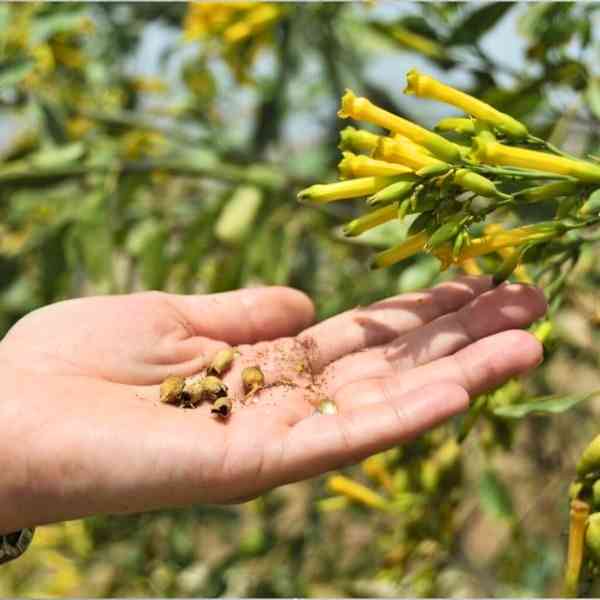
🌾 Collecting Small, Dry Seeds
Small, dry seeds need a little more attention because they can be sneaky. One day the seed heads look almost ready, and the next day the seeds have scattered all over the garden.
Plants like lettuce, parsley, coriander, kale, silverbeet, broccoli, cauliflower, and many herbs will produce seed once they flower and complete their growing cycle. This is often called bolting. While bolting is not ideal when you want tender leaves, it is exactly what you need when you want to save seed.
Watch the seed heads closely as they begin to dry and turn brown. You can tie a paper bag gently around the seed head while it is still on the plant. This catches the seeds as they loosen and fall. Another easy method is to snip off the whole seed head and place it upside down in a paper bag to finish drying.
Once dry, give the bag a gentle shake or rub the seed heads between your fingers to release the seeds. You may need to separate the seed from the chaff, which is the dry plant material mixed in with it. Do not worry about getting it absolutely perfect. A little bit of chaff is fine for home seed saving.
Avoid plastic bags for drying seeds. Plastic traps moisture, and moisture is the enemy of stored seeds. Paper bags, paper envelopes, cardboard boxes, or shallow trays are much better choices.
🍅 Collecting Seeds from Fleshy Fruit
Saving seeds from fleshy fruit takes a bit more cleaning, but it is still very doable. Tomatoes, cucumbers, pumpkins, zucchinis, melons, capsicums, and chillies all hold their seeds inside the fruit, so the fruit needs to be fully ripe before you collect the seed.
Choose fruit from healthy, productive plants with good flavour and strong growth. For seed saving, fruit often needs to be riper than you would normally pick it for eating. A tomato should be fully coloured and soft. A cucumber or zucchini may need to be left on the plant until it becomes large and mature. Pumpkins and melons should be fully ripe with mature seeds inside.
Cut the fruit open and scoop out the seeds. Rinse them well in a sieve to remove pulp and flesh. Tomato seeds have a jelly-like coating that can slow germination, so many gardeners like to ferment tomato seeds for a couple of days before drying. For simple home seed saving, you can also rinse them thoroughly and rub away as much coating as possible.
Spread the clean seeds onto a paper towel, baking paper, coffee filter, or clean tea towel. Leave them somewhere warm, dry, and out of direct sun. Stir or move them around each day so they dry evenly and do not stick together too badly.
Seeds are ready to store when they feel hard, dry, and no longer bend or squash under gentle pressure. Do not rush this step. Seeds that are packed away too soon can go mouldy and lose their viability.
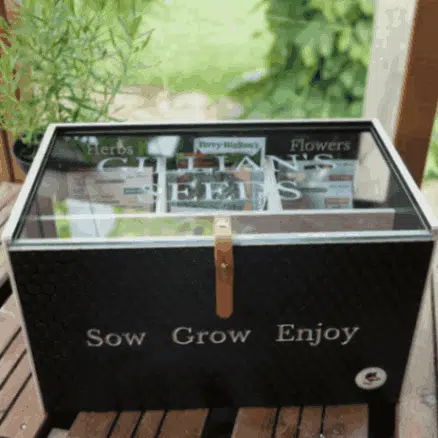
🫙 Storing Your Saved Seeds
Good seed storage comes down to three simple words. Dry, cool, and labelled.
Before storing seeds, make sure they are completely dry. This is the most important step. Even a tiny bit of trapped moisture can spoil a whole batch. Once dry, place your seeds into paper envelopes, small paper bags, or glass jars.
Paper envelopes are easy, cheap, and breathable. Glass jars are useful if your seeds are fully dry and you want extra protection from pantry moths, mice, or humidity. If you live in a humid area, you can add a small sachet of silica gel or a little folded paper packet of uncooked rice to help absorb extra moisture.
Label everything clearly. Write the crop name, variety name, and collection date. If you want to be extra organised, add a few notes about the plant, such as “early producer,” “best flavour,” “handled heat well,” or “saved from strongest plant.” These notes are gold when you are planning next season’s vegetable garden.
Store your seeds in a cool, dark place. A cupboard inside the house is usually better than a hot shed. Heat, light, and moisture all shorten seed life, so keep your seed collection tucked away somewhere stable.
🌿 Choosing the Best Plants for Seed Saving
The more you save seed, the more you start noticing little details in your garden. This is where seed saving becomes really interesting.
Do not just save from the biggest plant. Look for the whole package. Choose plants that are healthy, productive, pest tolerant, true to variety, and useful in the kitchen. If you are saving tomato seed, choose fruit with good flavour, colour, shape, and production. If you are saving lettuce seed, choose a plant that was slow to bolt and had tender leaves. If you are saving bean seed, choose plants with strong growth and plenty of pods.
Avoid saving seed from weak, diseased, or heavily pest-damaged plants. You do not want to carry those traits forward if you can help it.
This gentle selection is one of the real benefits of saving your own seeds. Each year, your saved seed can become a little better suited to your own garden. That is local adaptation in action, and it is one of the quiet joys of growing heirloom and open-pollinated vegetables.
🐝 A Quick Note on Cross-Pollination
Some vegetable seeds are easier to save than others because of how they pollinate. Beans, peas, lettuce, and tomatoes are often good beginner seed saving crops because they are mostly self-pollinating. That means they are less likely to cross with another variety nearby.
Other crops, like pumpkins, zucchinis, cucumbers, corn, broccoli, cabbage, kale, and many other brassicas, can cross-pollinate more easily. If you grow several varieties close together, the seed may not come true to type next season.
This does not mean you should avoid them. It just means you need to be aware. If you want pure seed, grow only one variety of that crop at a time, separate varieties by distance, or use hand pollination methods. If you are just experimenting in your home garden, you might enjoy seeing what surprises appear.
Gardening does not have to be perfect to be worthwhile. Sometimes the odd garden mystery is half the fun.
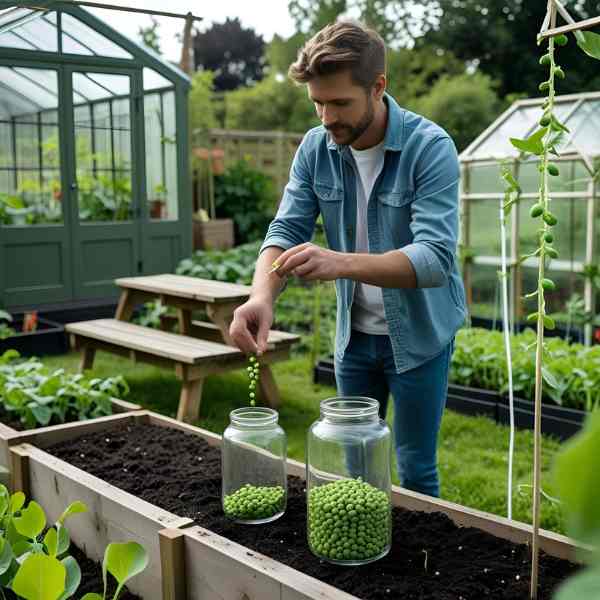
💚 In My Own Garden
In my own garden, seed saving has become one of those little seasonal rituals I really enjoy. At the end of a crop, when most people are pulling plants out and moving on, I like taking a moment to see what can be carried forward.
There is something deeply satisfying about saving seed from a plant that has fed you well. It feels practical, thrifty, and a bit old-fashioned in the best possible way. You are not just cleaning up the garden. You are preparing for next season’s harvest.
Seed saving is also a lovely reminder that gardening is a cycle. One season finishes, but it leaves something behind. A handful of bean seeds, a paper bag of lettuce seed, or a few tomato seeds drying on the bench can become next year’s crop.
It is budget-friendly, sustainable, and wonderfully grounding. It helps you rely a little less on buying new seeds every season and a little more on your own garden skills.
So if your garden is offering seeds, say yes. Start with something easy like beans, peas, lettuce, or tomatoes, label everything properly, and learn as you go. Before long, you will have your own little seed collection ready for the next growing season.
Happy seed saving! 🌱