How to improve your Seed germination rates

Simple Seed Germination Tips for Better Results
There is nothing quite as exciting as checking your seed trays and seeing those first tiny green shoots appear. It feels like a little garden miracle every time. But when seeds do not germinate well, it can be very frustrating. You sow them carefully, keep checking every day, and then nothing happens. Or worse, only one or two pop up out of the whole tray.
The good news is that seed germination can usually be improved with a few simple changes. Seeds are living things, and they need the right mix of moisture, temperature, oxygen, light, and timing to wake up properly. So if you have ever wondered how to improve your seed germination rates, here are the main things to check.
On each of the seed product pages you will find a “Grow Guide” tab which will give you all the information you will need plus the individual seed packets have the basic information on the back
🌿Start with Fresh, Good Quality Seed
Good germination starts before the seed even touches the soil. Fresh seed will usually germinate better than old seed, especially with crops like onions, parsnip, parsley, chives, and some herbs, which can lose viability more quickly than others. That does not mean older seed is useless, but it may take longer to germinate, and the germination rate may be lower.
To help improve seed germination:
🌱 Store seeds somewhere cool, dry, and dark
Heat and moisture are two of the quickest ways to reduce seed life.
🌱 Keep seed packets sealed when not in use
This helps protect them from humidity, insects, and temperature changes.
🌱 Check the sow-by or packed date where available
Older seed may still grow, but you may need to sow a little more thickly.
Seeds are tough little things, but they are not invincible. A packet left in a hot car, damp shed, or sunny windowsill will not thank you for it.
🪴Use the Right Seed Raising Mix
One of the easiest ways to improve germination is to use a fine, free-draining seed raising mix. Seeds do not need rich, heavy soil to germinate. In fact, too much fertiliser or compost can sometimes cause problems, especially for tiny seeds and delicate seedlings. A good seed raising mix should hold moisture, but still allow air to move through it. Seeds need oxygen as well as water, so soggy, compacted mix can lead to poor germination or rotting.
A good seed raising mix should be:
🌱 Fine enough for small seeds
Large chunks can make it hard for tiny seedlings to push through.
🌱 Moisture-retentive but not soggy
Seeds need steady moisture, not swampy conditions.
🌱 Light and open
This helps roots develop and reduces the risk of rot.
Before sowing, lightly moisten the mix so it is evenly damp. It should feel like a wrung-out sponge, not dripping wet.
🌼Sow Seeds at the Right Depth
Seed depth makes a big difference to germination. A simple rule is to sow most seeds at around two to three times their own depth. Tiny seeds are usually sown very close to the surface, while larger seeds can be planted deeper.
If seeds are planted too deeply, they may germinate but run out of energy before they reach the surface. If they are planted too shallowly, they may dry out before they get going. Some seeds also need light to germinate, which means they should only be pressed gently onto the surface or covered with the barest sprinkle of mix.
This is one of the most common reasons seeds fail to germinate. It is not always the seed. Sometimes it is simply sitting too deep in the soil.
💧Keep Moisture Steady
Seeds need moisture to germinate, but too much water can cause just as many problems as too little. Once a seed begins absorbing water, it starts the germination process. If it dries out halfway through, it may fail. On the other hand, if the mix is constantly soggy, the seed may rot before it can sprout. The aim is even, gentle moisture.
To keep seed trays moist:
💧 Water with a misting bottle or gentle spray
This prevents tiny seeds from being washed away.
💧 Bottom water trays when possible
Place the tray in shallow water and let the mix draw moisture up from below.
💧 Cover trays lightly while seeds germinate
A clear lid, plastic cover, or humidity dome can help hold moisture, but remove it once seedlings appear.
💧 Check daily
Seed trays can dry out quickly, especially in warm weather or windy spots.
The mix should stay damp, but never smell sour or look waterlogged.
🌡️Get the Soil Temperature Right
Temperature is one of the biggest factors in seed germination. Many seeds will not germinate properly if the soil is too cold. Others struggle if it is too hot. This is why some seeds that fail in one season will suddenly pop up beautifully when sown at the right time.
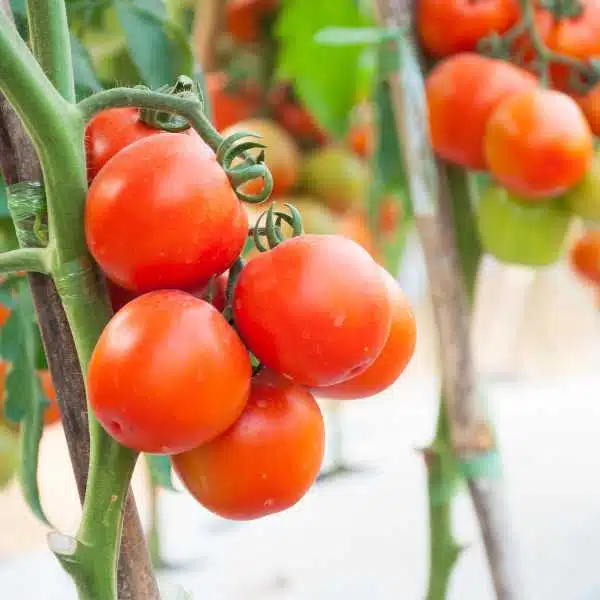
For example, warm-season crops like tomatoes, capsicum, chilli, eggplant, cucumber, zucchini, and pumpkins need warmer soil to germinate well. Cool-season crops like lettuce, peas, spinach, coriander, kale, broccoli, and many brassicas prefer milder conditions.
Air temperature and soil temperature are not always the same. Soil can stay colder than you expect, especially in winter and early spring. If you are starting warm-season seeds early, a heat mat can make a big difference. For cooler-season seeds, choose a sheltered spot with good light and mild conditions.
☀️Give Seeds the Light They Need
Not all seeds need light to germinate, but seedlings definitely need good light once they emerge.
Weak, leggy seedlings are often a sign that they are stretching toward light. This can happen on windowsills, under verandas, or anywhere that looks bright to us but is not quite bright enough for young plants.
Once your seeds sprout, move them into a bright position with good airflow.
Seedlings need:
☀️ Bright light
This helps them grow strong and sturdy.
🌬️ Good airflow
This reduces fungal problems and damping off.
🌱 Gentle protection
Young seedlings still need shelter from harsh sun, heavy rain, strong wind, and pests.
If seedlings are grown indoors, turn trays regularly so they do not lean toward the light.
🍅Do Not Sow Too Early
This is a big one. It is very tempting to start seeds early, especially when you are excited for the next season. But sowing too early can lead to slow germination, weak seedlings, and a lot of frustration.
Seeds germinate best when the conditions suit them. A tomato seed sown into cold mix may sit there sulking, while the same seed sown a few weeks later in warmer conditions may germinate quickly and strongly.
Better timing often means better germination.
This is especially important in Australia because conditions vary so much between climate zones. What works in a tropical garden may not suit a cool mountain garden at all. Always match your sowing time to your local climate, not just the month on the calendar.
🔥Know Which Seeds Need Special Treatment
Some seeds need a little extra help before they germinate. This is especially true for some Australian native seeds, hard-coated seeds, and certain perennial herbs or flowers. Depending on the variety, seed treatment may include:
🔥 Smoke treatment
Often used for some Australian native seeds.
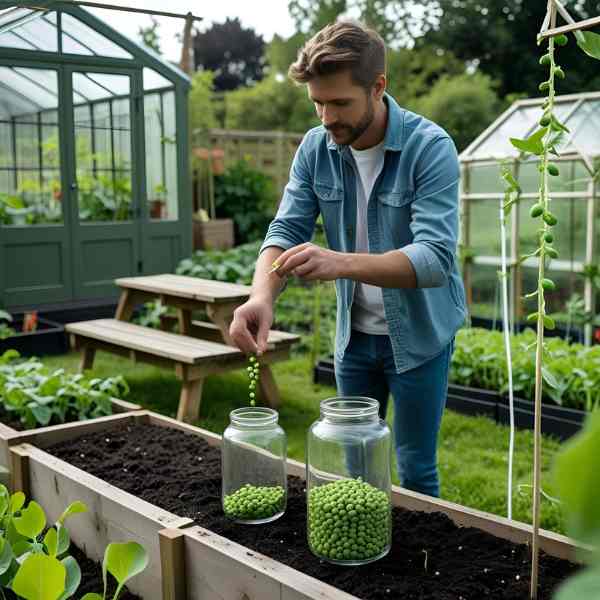
💧 Soaking
Helpful for some larger or hard-coated seeds like peas, beans, and sweet peas.
🌰 Scarification
This means gently nicking or roughening the seed coat so water can enter.
❄️ Cold stratification
Some seeds need a cool period before they germinate.
Not every seed needs special treatment, and many common vegetables and herbs can be sown straight from the packet. But if a variety is known to be tricky, checking the seed instructions first can save a lot of disappointment.
🏷️Label Everything
This sounds simple, but it matters. Always label your seed trays with the variety name and sowing date. Once trays start filling up, it is very easy to forget what went where.
Labelling helps you track how long each variety takes to germinate. Some seeds pop up quickly, while others are naturally slower. Parsley, for example, can take its sweet time, while radish is usually up before you have had a chance to worry.
A label saves you from giving up too early.
⏳Be Patient, But Not Forever
Different seeds germinate at different speeds. Some may appear in a few days. Others can take two, three, or even four weeks, depending on the variety and conditions.
Before deciding a seed has failed, check the expected germination time on the packet. Also check whether the tray has been too cold, too dry, too wet, or sown too deeply.
That said, if the seed raising mix has gone mouldy, smells bad, or has been sitting wet and cold for weeks, it may be better to start again with fresh mix and better conditions.
Common Reasons Seeds Do Not Germinate ❌
If your seeds are not germinating well, it is usually one of these:
❌ The seed was too old or poorly stored
Heat, moisture, and age can reduce viability.
❌ The soil was too cold or too hot
Seeds need the right temperature to wake up.
❌ The mix dried out
Seeds need steady moisture once germination begins.
❌ The mix was too wet
Soggy conditions can rot seeds.
❌ Seeds were planted too deeply
Tiny seedlings may not have enough energy to reach the surface.
❌ The wrong season
Some seeds simply will not perform well outside their preferred conditions.
❌ Special treatment was needed
Some seeds need soaking, smoke treatment, scarification, or chilling.
🌱Final Thoughts
Improving your seed germination rates is usually not about doing anything fancy. It is about getting the basics right.
Use fresh seed, choose the right sowing time, keep the mix evenly moist, watch the temperature, sow at the right depth, and give seedlings good light once they appear.
Growing from seed always comes with a bit of trial and error, and that is okay. Even experienced gardeners have trays that do not behave. The trick is to notice what happened, make a small adjustment, and try again.
Every seed tray teaches you something. And when those little shoots finally appear, it is absolutely worth it.