Useful Tips for Seed Raising
🌱 Seed Raising Tips for Better Germination and Healthier Seedlings
🌱 Seed Raising Basics: How to Give Your Seeds the Best Start
Seed raising can often feel like a little bit of garden magic. You place a tiny seed into the soil, give it the right conditions, and nature quietly steps in to do the rest.
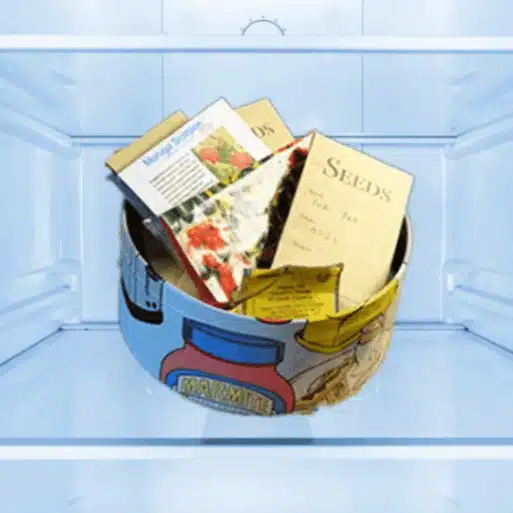
A handful of seeds can grow into an entire garden full of peas, tomatoes, beans, cucumbers, broccoli, herbs, flowers and so much more. Everything that eventually ends up on your plate starts with those tiny little seeds, which is why good seed raising is such an important part of successful gardening.
The lovely thing is, seed germination is not really magic. It is a mix of timing, temperature, moisture, soil, light and a little patience. Once you understand the basics, you will feel much more confident sowing seeds at home.
🌡️ Why Soil Temperature Matters for Seed Germination
Sowing your seeds in the correct season is one of the biggest keys to good germination. Some seeds love warmth, while others prefer cooler conditions. If the soil is too cold or too hot, seeds may germinate slowly, unevenly, or not at all.
Always check your seed packet for sowing times and recommended soil temperatures. This will tell you when your seeds are most likely to germinate well in your climate.
Whether you are starting seeds indoors in seed trays or sowing them directly into the garden, a soil thermometer is a simple and very handy tool. It lets you know what is really happening in the soil, rather than guessing from the air temperature.
🌿 Using a Soil Thermometer
A soil thermometer does not need to be fancy. Many basic ones are available for around $15, and they are very useful if you are serious about improving seed germination.
To get a better idea of your garden soil temperature, check the soil in the morning and evening for a few days. Record the readings, then work out the average. This gives you a much clearer picture of whether your soil is warm enough, or cool enough, for the seeds you want to sow.
When you look at a seed germination temperature guide, you will usually see a minimum and maximum temperature. Seeds may germinate within that range, but they often germinate best when the soil temperature sits somewhere in the middle.
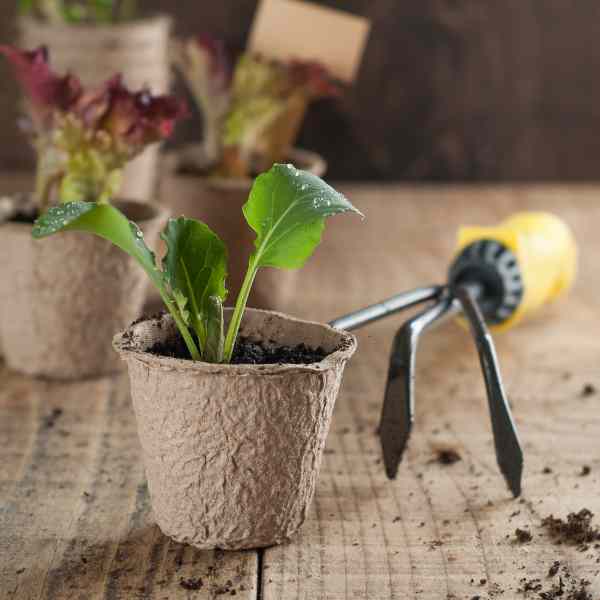
For example, lettuce can germinate across a fairly wide temperature range, but it will usually perform better when conditions are not sitting right at the coldest or hottest end. The closer you can get to the ideal range, the faster and more reliable germination will usually be.
💧 Watering Seeds: Little and Often
Seeds need steady moisture to germinate well. Too dry, and they may not wake up. Too wet, and they can rot before they even get going.
Watering a little and often is usually the safest approach, especially when seeds are freshly sown. The goal is to keep the seed raising mix or soil evenly moist, like a damp sponge, not soaking wet.
A gentle spray bottle, fine watering can rose, misting system or gentle sprinkler can all work well. Try to avoid blasting the soil with a strong stream of water, as this can wash tiny seeds away or push them too deep.
A simple daily watering routine can make a big difference, especially during warm weather or when seeds are in trays where the mix dries out quickly.
🪴 Use a Good Quality Seed Raising Mix
A good seed raising mix gives your seeds a clean, light and well-draining place to begin life. This is especially helpful for small seeds and delicate seedlings.
Seed raising mix is usually finer than regular potting mix, which makes it easier for tiny roots to push through. It also helps prevent seeds from sitting in heavy, wet soil, which can lead to poor germination or damping off.
Fresh, weed-free seed raising mix is best. Old soil from the garden may contain weed seeds, pests or diseases, and young seedlings do not need that competition when they are just getting started.
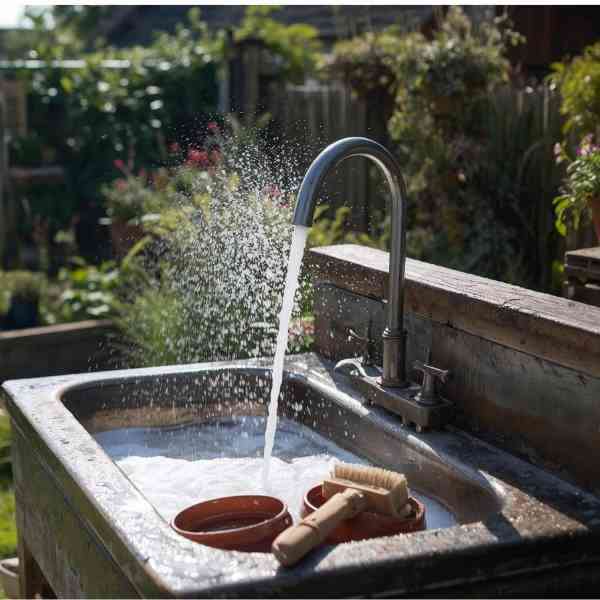
🧼 Clean Containers Help Prevent Seedling Problems
If you are reusing pots, punnets or seed trays, give them a good clean before sowing. Old containers can carry fungal spores, pests or disease from previous crops.
A quick scrub in warm soapy water is often enough for general use. If you have had disease issues before, take a little extra care and disinfect your trays before using them again.
Clean containers, fresh seed raising mix and careful watering give seedlings a much better start.
🌰 How Deep Should You Sow Seeds?
A simple rule is to sow a seed about two to three times as deep as it is wide.
Larger seeds like beans, peas, pumpkin, cucumber and zucchini are usually sown deeper because they have enough stored energy to push up through the soil.
Tiny seeds, such as oregano, basil, lettuce and strawberry, often need to be sown very shallowly. Some only need a light dusting of soil, while others should be pressed gently onto the surface.
If a seed needs light to germinate, do not bury it deeply. Gently tamp it down after sowing so it makes good contact with the soil. This helps the seed absorb moisture and start the germination process.
Your seed packet will usually tell you the best sowing depth, so it is always worth checking before you begin.
☀️ Light or Darkness for Germination?
Some seeds need light to germinate, while others prefer darkness. This is one of those little details that can make a big difference.
Tiny seeds are often surface sown because they naturally germinate close to the top of the soil. Oregano and strawberry are good examples of seeds that should not be buried deeply.
Other seeds are happier covered with soil and will germinate better in darkness. Calendula, beans and many larger seeds fall into this group.
If germination is patchy, sowing depth and light requirements are worth checking first.
🌾 Direct Sowing: Planting Seeds Straight Into the Garden
Direct sowing means planting seeds straight into their final growing position in the garden. This is a simple and effective method for many vegetables, herbs and flowers.
It is especially useful for plants that do not like root disturbance. Root vegetables are a good example because they quickly develop long, fine roots that can be damaged when transplanted.
🌱 Best Seeds for Direct Sowing
Direct sowing is usually best for:
- Carrots, radishes, beetroot, turnips and parsnips
- Peas, beans and broad beans
- Rocket, mustard greens and pak choy
- Zucchini, cucumber, pumpkin and squash in warm soil
- Dill, coriander and parsley
- Spinach and other quick-growing greens
These plants often grow best when they can get started exactly where they are going to stay.
✅ Benefits of Direct Sowing
Direct sowing keeps things simple. There is no need to pot up seedlings, harden them off or worry about transplant shock.
It also works beautifully for fast-growing crops. Radish, rocket, beans and zucchini can germinate quickly when the soil temperature is right.
Direct sowing is also a good choice if you want to fill gaps in the garden. You can tuck quick growers between slower crops and make better use of your space.
⚠️ Challenges of Direct Sowing
Seeds sown outdoors are more exposed to pests and weather. Birds may scratch through the soil, slugs and snails may find the new shoots, and heavy rain can wash seeds away.
Cold soil can also slow germination, especially for warm-season crops. Beans, cucumbers, zucchini and tomatoes will sulk if the soil is still too cold.
To improve your results, prepare the soil well, water before sowing, cover seed beds with netting if needed, and keep an eye out for pests as seedlings emerge.
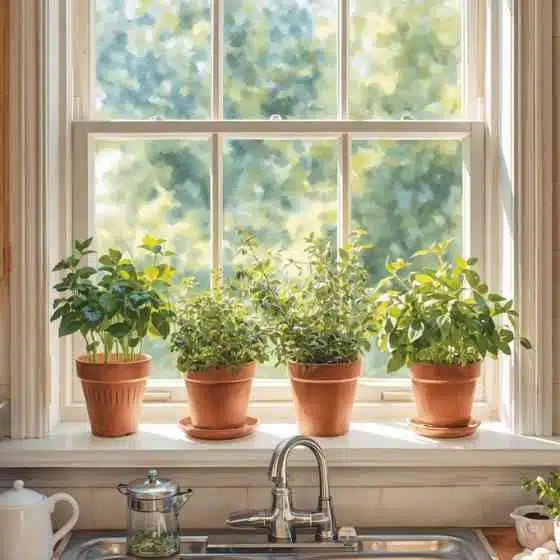
🧺 Sowing Seeds in Trays
Sowing seeds in trays gives you more control over the early stages of growth. This is very helpful when the weather outside is too cold, too hot, too wet or full of hungry pests.
Seed trays are especially useful for crops that need a longer growing season or a warm start before being planted into the garden.
🌿 Best Seeds for Trays
Seed trays are useful for:
- Tomatoes
- Capsicums
- Eggplants
- Broccoli
- Cabbage
- Cauliflower
- Celery
- Basil
- Marigolds
- Zinnias
- Many flowers and herbs
Starting seeds in trays can help you get a jump on the season, especially with summer vegetables that need warmth to germinate and a long season to produce well.
✅ Benefits of Seed Trays
Seed trays make it easier to control moisture, temperature and light. You can move them into a warm spot, protect them from harsh weather and keep them away from pests.
They also help you make better use of garden space. While one crop is still growing in the garden, your next batch of seedlings can already be coming along in trays.
This is a lovely way to keep the garden productive across the seasons.
⚠️ Challenges of Seed Trays
Seedlings grown in trays need a little more care. They can dry out quickly, become leggy if they do not get enough light, or suffer transplant shock if they are moved too suddenly into the garden.
They also need hardening off before planting outdoors. This simply means gradually introducing them to outside conditions so they are not shocked by sun, wind or temperature changes.
🌱 When Are Seedlings Ready to Transplant?
Most seedlings are ready to move into their final position around four to eight weeks after germination. This depends on the plant, the season and the growing conditions.
Look for the first true leaves. These are the leaves that appear after the first seed leaves, which are called cotyledons. True leaves look more like the mature leaves of the plant.
As a general guide, many seedlings are ready to transplant when they have two to four sets of true leaves and a healthy root system. They should look sturdy, not stretched, weak or pale.
🌤️ How to Harden Off Seedlings
Hardening off helps seedlings adjust to life outdoors.
Start by placing your seed trays outside in a sheltered spot for a short time each day. Gradually increase the time over seven to ten days. Keep them protected from strong sun, heavy rain and wind while they adjust.
By the end of the hardening off period, the seedlings should be ready to plant into the garden.
A cloudy day is ideal for transplanting because it reduces stress from harsh sun. Water seedlings before and after transplanting to help them settle in.
🥕 Plants That Do Not Like Transplanting
Some plants really prefer to be sown directly where they will grow. They may go into shock if transplanted, with growth slowing or stopping while they recover.
Plants that often dislike transplanting include:
- Carrots
- Radishes
- Beetroot
- Turnips
- Parsnips
- Dill
- Coriander
- Parsley
- Rocket
- Mustard greens
- Pak choy
For these, direct sowing is often the easiest and most reliable choice.
🍅 Plants That Usually Transplant Well
Other plants are more forgiving and usually handle transplanting well when they are hardened off properly.
Good candidates for transplanting include:
- Tomatoes
- Capsicums
- Eggplants
- Broccoli
- Cauliflower
- Cabbage
- Marigolds
- Zinnias
- Lettuce
- Silverbeet
These are great options for starting in trays, especially when you want to get seedlings growing before the outdoor conditions are quite ready.
🐌 Protecting Seeds and Seedlings from Pests
Freshly sown seeds and young seedlings are very tempting to garden pests.
Birds may scratch through newly sown beds. Slugs and snails can chew seedlings overnight. Caterpillars, aphids and other insects can quickly damage soft new growth.
Cover exposed seed beds with netting or row covers to protect them from birds. Check the garden daily for slugs and snails, especially early in the morning or after rain.
Keep an eye on established plants too. Pests hiding there can move onto new seedlings as soon as they appear.
A little daily garden patrol can save a lot of disappointment.
🏷️ Always Label Your Seeds
Whenever you sow seeds, add a clear, weatherproof label to the pot, tray or garden row.
Write down the variety name and the sowing date. This is especially helpful if you are growing several varieties that look similar when young.
The sowing date also helps you know whether germination is taking longer than expected. Some seeds pop up in just a few days, while others take several weeks.
Labels may seem like a small thing, but they save plenty of confusion later.
🌿 Troubleshooting Seed Germination Problems
Even experienced gardeners have seeds that do not germinate from time to time. That is okay. It is all part of learning.
If your seeds do not come up, look at the basics first.
🌡️ Poor Germination
Poor germination is often caused by soil that is too cold, too hot, too wet or too dry. Old seed can also have lower viability, which means fewer seeds are likely to sprout.
Check the seed packet, soil temperature, moisture level and sowing depth.
🌱 Leggy Seedlings
Leggy seedlings are usually stretching for light. They may look tall, thin and weak.
Move trays closer to a bright window or use grow lights if needed. Seedlings need strong light to grow sturdy stems.
🍄 Damping Off
Damping off is a fungal problem that can cause seedlings to collapse at soil level. It is more likely when conditions are too wet, crowded or poorly ventilated.
To reduce the risk, use fresh seed raising mix, clean containers, good airflow and careful watering.
📔 Keep Notes for Better Seed Raising
A simple garden journal can be very helpful. Write down what you sowed, when you sowed it, the soil temperature, how long germination took and what worked well.
Over time, you will start to see patterns in your own garden. You will learn which seeds prefer trays, which ones do better direct sown, and when your soil warms up enough for summer crops.
This is where gardening becomes beautifully personal. Your garden has its own little rhythm, and seed raising helps you tune into it.
✨ The Joy of Growing from Seed
Watching a towering plant grow from a speck-sized seed is one of the most satisfying parts of gardening.
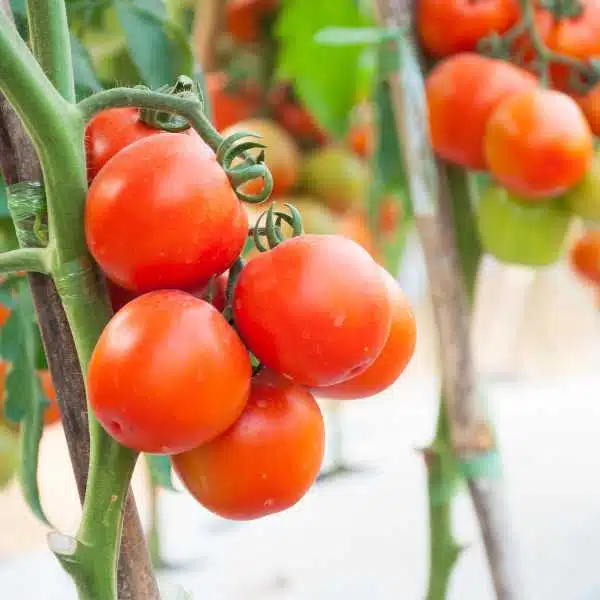
With the right season, good soil temperature, steady moisture, clean containers and a little patience, those tiny seeds can become crunchy cucumbers, juicy tomatoes, sweet peas, leafy greens, herbs, flowers and a garden full of life.
Every seed is a small beginning. Give it the right start, and it can reward you with something wonderful. 🌱✨